Pages

Friday, 28 October 2011

Happy Deepavali


“Fill the Heart with the oil of love.
Place in it the wick of single-pointed mind.
Light it with the Knowledge of Truth
and remove the darkness of ignorance around you.
Just as one lamp can light many lamps;
Let each youth kindle this Light in many hearts.”

How beautifully the significance of the diyas is quoted here.Diwali something that makes me relate to brightly lit streets, diyas,color,rangoli, sweets and colorful lanterns.

As diwali was approaching I could see beautiful earthen and designer diyas, lanterns displayed by the vendors in the market. Shopping on Dadar streets is at its best in Diwali -a place I usually shop from. It gives you a pleasant festive feeling looking at the beautiful ornamented diyas, bright colors and brightly lit lanterns.

Last week when I visited the nearby mall I saw a counter selling traditional diyas and decorative articles. I fell in love with them at the first glance and when I read the price tag on the bottom of the diyas all my love evaporated into thin air.

This is how I came up with an idea to be creative with earthen diyas. It has been a joyful journey of decorating diyas as I also got my first year students involved in this diya making activity. Trust me they came up with incredible ideas.


  1. Diyas are a symbol of victory, joy and light. To make a beautiful Diya you would require following things:
  1.  Earthen lamps of your choice
  2.  Acrylic colors 
  3. Varnish 
  4. Paint brushes- 2 and 3nos. 
  5. Glitter tubes 
  6. Candle wax 
  7. Cotton thread
Always wash the lamps and sun-dry them before painting.

Apply a single coat of color, rest it for some time and then apply the second coat. You can mix two colors and get different shades and colors.

After the second coat apply varnish to give a gloss on the lamp and form a protective film over the color 


As the varnish is sticky it also acts as an adhesive so you can easily ornament the lamp with mirror or glitter work.


This is the how my decorated diyas looked like


For wax filling 

you easily get candle making kit in stationary shop which can be used for diya making. 

I used a double boiler to heat the wax as direct heat would burn the wax. 

The melted wax solidifies in less time so always be quick to pour in the melted wax in diya with a cotton wick in it. 

To make cotton wick take thick cotton thread and twist 2-3 threads together. hold the thread in the center while pouring the wax. Always coat the tip of the wick with wax so that it burns properly.


One of my students trying out her creativity.


I conducted a diya making activity with the first year students who came out with beautiful diyas which were distributed to all the staff members.


It’s an awesome experience of painting and decorating diyas.Thank you for reading this blog. 

Have a happy deepavali

Thursday, 6 October 2011

Innovative lamp


I have been more than excited to add my new post. It’s the festive month of October -Diwali  the season of light making  its  presence felt.  brightly lit lamps, diyas and variety of sweets is something that you cant take your   eyes off  if crossing a market lane . Innovations are bound to happen when you have a vision and this time it was Veena Picardo who came to me with this brilliant idea of making an innovative lamp 


We have this bougainville plant surrounding our college compound and one day the gardener was busy conditioning the plants. He had cut the old dried twigs out  for the plant to branch again.
It  was veena  to  visualize creativity in those dried sticks which were soon to be  part of  a heart warming lamp. If you have to make a similar lamp you could use any dried sticks that would be flexible enough to take a shape. 


I collected twigs of different sizes and tied each twig into a sphere shape with the coir yarn to give a rustic look. I managed to make 10 rings of different sizes. If you would be using the same plant for the lamp be careful with the sticks as the plant has really sharp thorns. To maintain the dried sticks and for a glossy finish I used a mix of varnish and brown color powder and applied it with a paint brush. All this material is easily available in any Hardware Store.
I


Its important to have small to large size of spherical rings as it becomes easy to entangle them in each other to give a circular shape. 


For hanging the lamp thought of using the coir yarns again. Made a rope  plait out the yarns and got it colored with  the varnish mix.  


You need to rest the rings and rope so that the varnish dries out completely. It may take a day for the varnish to dry completely.


Assembling the lamp:
As the design of the lamp is abstract a perfect  spherical shape was not desired. As the bouganvilla plant dry sticks had thorns it was easy to entangle the rings among each other. If you use different kind of dry stick then use the coir yarn to hold the circular structure. After completion the sphere looks something like this. 


To illuminate the lamp I  have used  Chinese rice lighting which was properly arranged only inside the lamp. 


The thorns on the dry sticks served as attachment for the lighting wire to form a shape.


After the lighting was lit the lamp looked something like this


I wanted to add life to this abstract creation so used the artificial  flower creepers which are easily available in the local market. Starting from the rope the flower vine was set on the sphere in a " S" shape.


The green color added freshness and life to lamp. This lamp  when lit in the dark looks like a cluster of fire flies in  a dense green forest!


Happy dusshra to all  of you ! 


See you soon in my next post.  

Thursday, 29 September 2011

Reduce, Recycle and Reuse


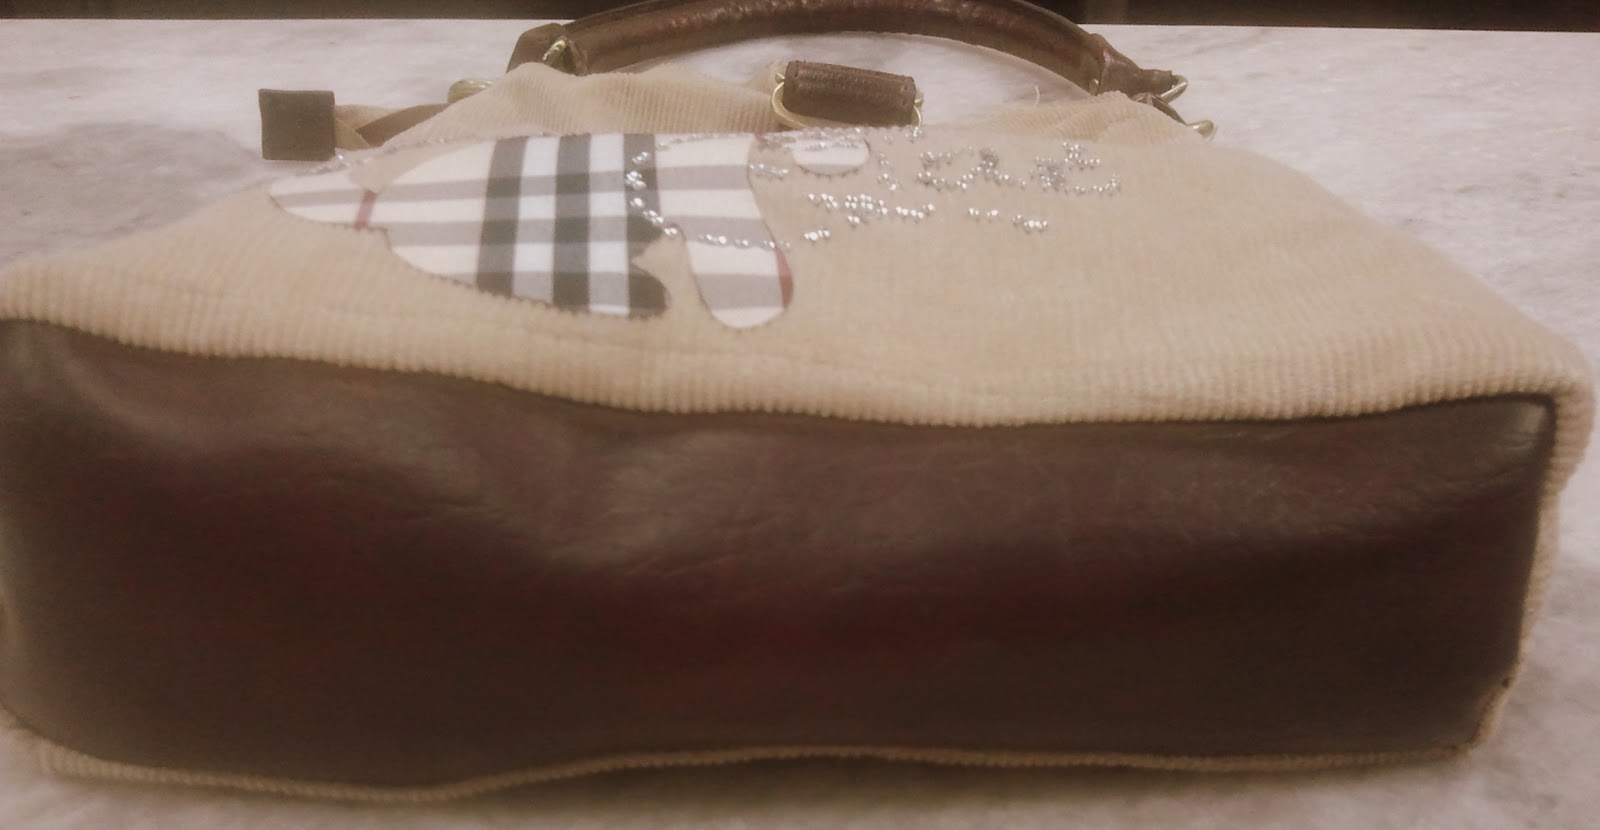
This time I wanted to work with fabric and corduroy is something we all have a set in our wardrobe. I Love the texture quality of the fabric that’s the reason why I never wanted the trousers to be in trash. I had a nice old beige color corduroy trouser which I wanted to bring in use and designing a bag out of the trouser was the best option.


To get started I had these bell bottom type of trousers so I utililized the lower part of the trousers which gave a perfect shape to the bag.

I had an old leather bag which had a functional handle and buckles on sides. The dark brown color of the handle was blending with the beige color so I had nearly figured out the structure of the bag. 


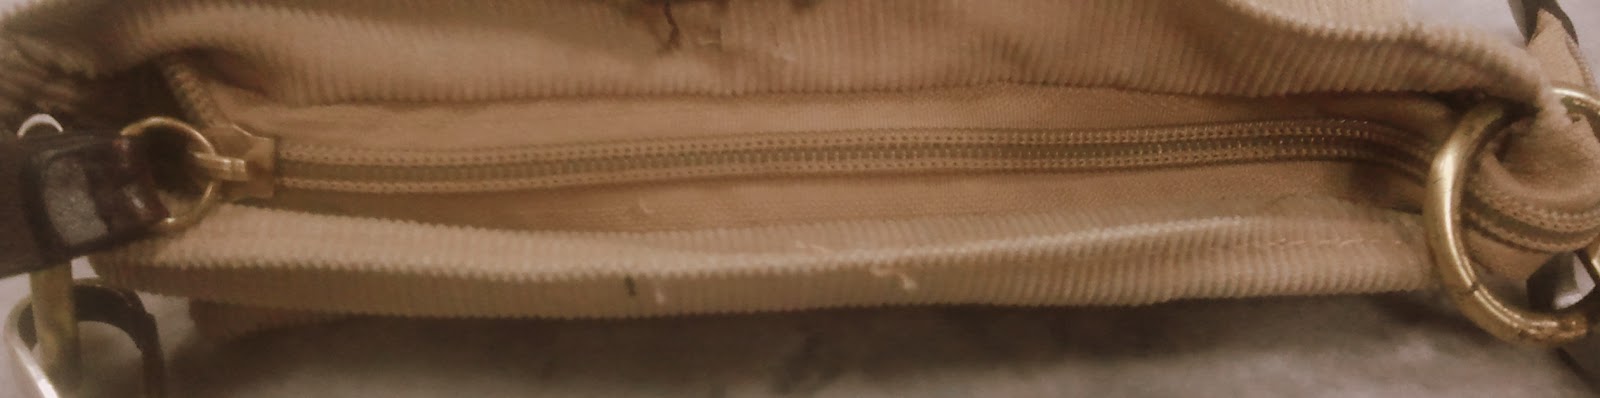
The trousers cut fabric had to be stitched only at the two open ends. For the base of the bag I used a brown leather piece and on top end got a zipper attached.  
For assembling of the bag I took help of the local tailors as the equipment they use give a better finish then hand stitching.


After the bag structure was ready I had to decorate it. If you visit a Fabric market you could find ready to use iron –on fabric patches which are used to decorate a bag. I picked up this patch as it was going well on the cord.


 Before using the iron on patch got the bag pressed to avoid any creases. Placed the patch on the bag covered with thin cotton cloth so heat could easily go in as well as the plastic sheet was not in direct contact with the press.


Anytime using patches make sure you apply pressure and uniform pressing so that the lamination of the patch is perfect.
 After pressing remove the plastic sheet from the design and you could see the design imprinted on the bag. Allow the bag rest for some time.


I have also used black color buttons to highlight the eyes of the cat.
 Try making a bag out of an old but reusable fabric you could use different accessories to decorate the bag.  If you have read this blog please look into your wardrobe you may find a good fabric which could be recycled and reused. Trust me you will love the way the bag comes out.


Thursday, 1 September 2011

Paper Quilling

Ganapati bappa morya! something that you may hear in each and every corner of Mumbai this week on occasion of  ganesh utsav .I have been watching  lot of craftsmen busy with decorations for ganesh utsav all these days. And one day I thought of  paper quilling as the best alternative to create my bappa in the form of a wall hanging.Paper quilling an ancient art also called as filigree.It is coiling and shaping of narrow strips of paper to create a design.A Paper Quilling Kit is easily available in any craft store.  Quilling is used for certificate, greeting card and wedding card decoration.In this post lets see how to make a wall hanging.


Material Required:
Quilling paper: 1/8", standard width
Hand made Paper":20"/ 15"
White chart paper:16"/ 12"
                              Quilling tool  needle tool or slotted tool
Scissors
Glue clear-drying, suitable for paper


Take a single strip and fold it into half and start rolling from the either ends till the center in one direction

To roll a coil with a slotted tool: Slide the very end of a strip into the slot, and turn the tool with one hand while evenly guiding the strip with the other.


After the coil is complete allow it to relax and loosen up,after it has loosened the coils open end can be glued with very small amount of transparent glue.


 This is how an open heart shape should look.


Now lets see how to make a flower. Take a single strip of paper and start overlapping the strip in increasing size.


 As we overlap this strip use glue to hold the structure.


Now lets see how to to make a Marquise ( eye shape) coil


Take another coil and this time hold it between the thumb and index fingers of both hands. Pinch tightly with both hands to form points at each end. The marquise is one of the most useful shapes in quilling.


 I have used 2 different colors to make the marquise.6 marquise are required to fill a single flower.
glue in the marquise into the flower like the picture below.


I have used white pearls to decorate the flower. You could also use buttons or beads.


 After all shapes done start arranging them to form a design. you could uncoil the coil to increase the size of shapes. apply glue on white chart paper and then fix the shapes as required. I  used pearls to fill in the center of the coils for perfect finishing. 


 this design could be best used as border or side design to enhance the center piece.


you could use different center pieces. Here I have used a lord Ganesha picture from a  wedding card.stick the Ganesha on a coil and then glue it in the center to give a embossed effect.


Some other form quilling below